How to Replace Ninebot ESX Front Motor
July 15th, 2023
If you are having a recurring Error 18 and replacing the controller didn’t fix it, you may need to replace the front motor.
This process is not too difficult and takes about 15-30 minutes.
More info on the Wiki article.
Front Panels
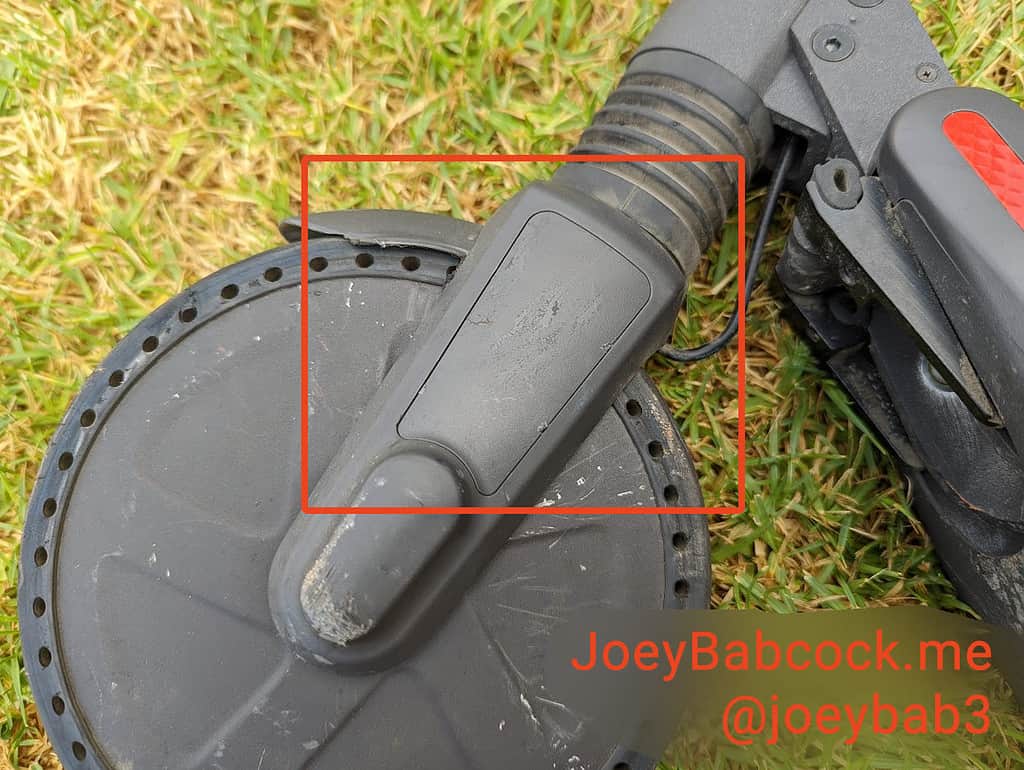
On either side of the motor, there are two plastic panels covering the screws.
Use a small flathead screwdriver to carefully peel the panels back and loosen the clips.

Carefully pry on both sides of the panel with a small flathead screwdriver.
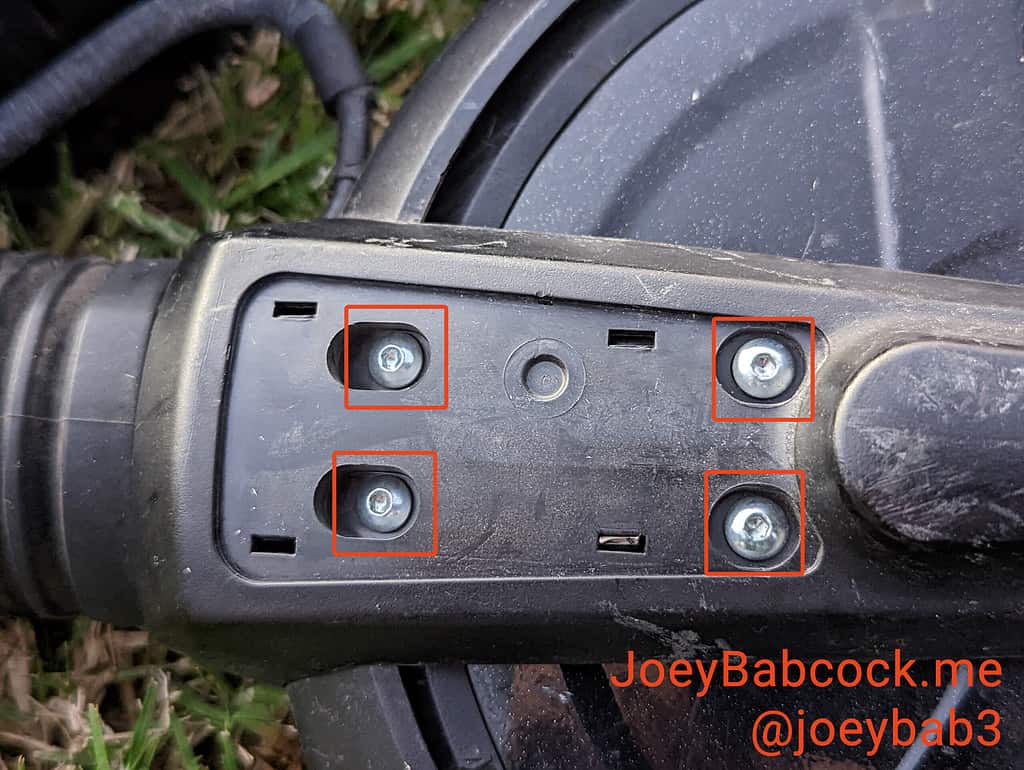
Once the clips are removed, there are 4 small button head M2.5/2.5mm hex/Allen screws holding the motor cover in place.

The 4 screws.
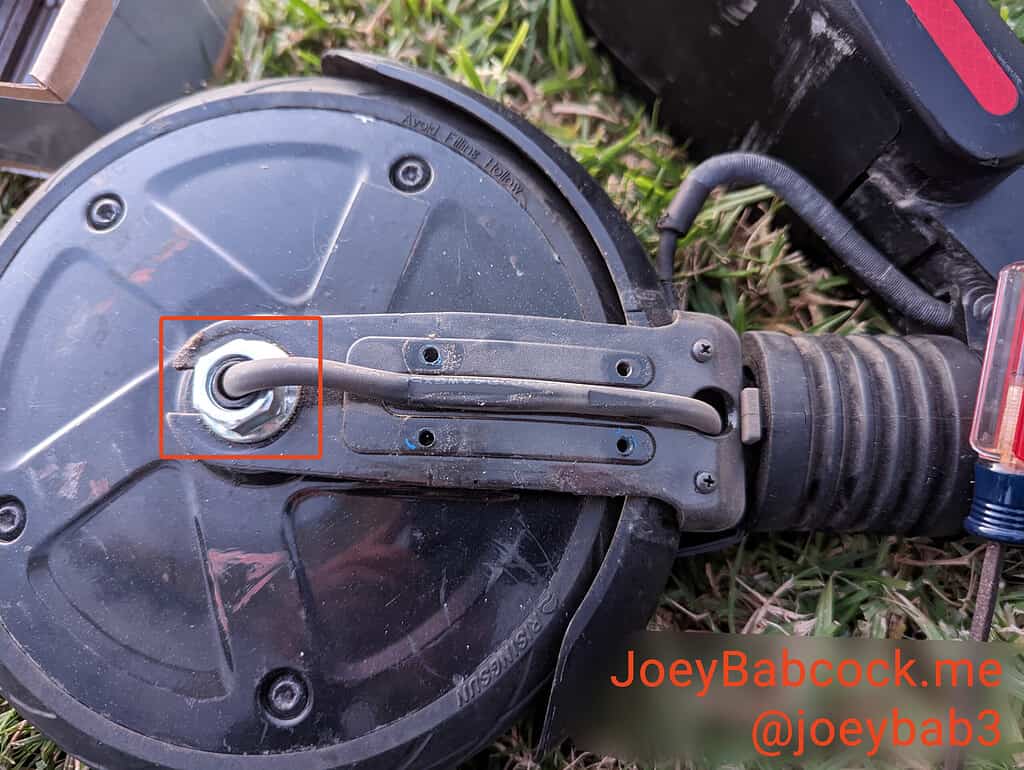
After these screws are removed you can slide away the bolt guard that they were holding down to access the bolts.

The panel removed, allowing access to the bolt.
Motor Bolts
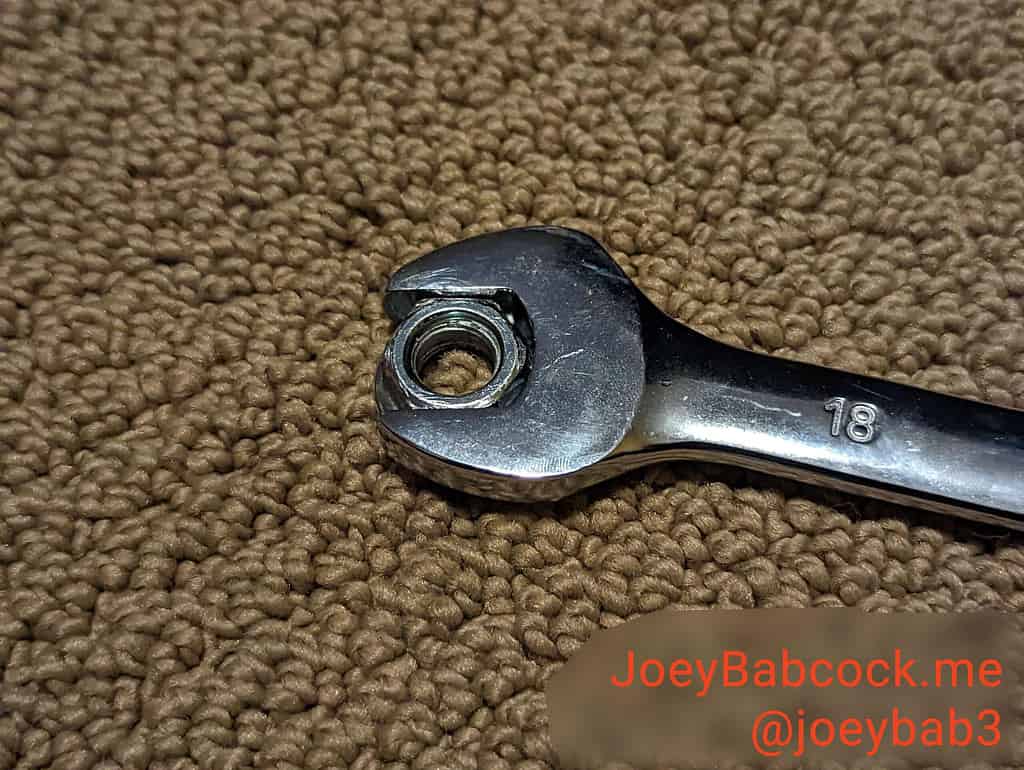
The motor bolts require a fair bit of force to remove.
Use an 18mm fixed wrench (metric) to remove them.

One of the bolts on either side holding the motor in place.
Once removed feed enough of the motor cable out to pull the motor away from the fork.
- Filed to:
- Electric Scooters,
- Ninebot
Comments