Segway Power Station Cube Install Extension Battery: Difference between revisions
Jump to navigation
Jump to search
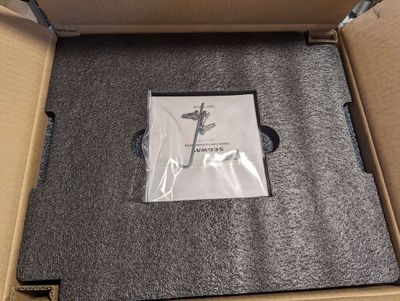
(Created page with "This page details how to install an extension battery on a Segway Power Station Cube/Cube 1000/Cube 2000. ==Process== Installation is relatively simple and all needed parts come with the extension battery. thumb|center|400px|The included parts are right on the top of the battery. Category: SegwayCategory: Segway Power Station Cube") |
No edit summary |
||
| Line 6: | Line 6: | ||
[[File:SegwayPowerStationCubeExtensionBatteryIncludedParts.jpg|thumb|center|400px|The included parts are right on the top of the battery.]] | [[File:SegwayPowerStationCubeExtensionBatteryIncludedParts.jpg|thumb|center|400px|The included parts are right on the top of the battery.]] | ||
Remove the parts and set them in a safe location, then remove the top cover. | |||
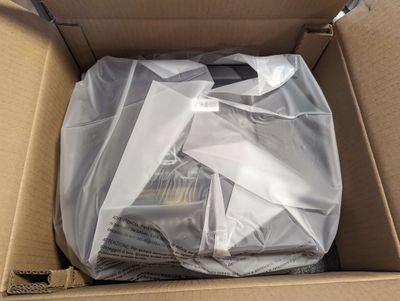
Next, remove the antistatic bag and remove the extension battery. | |||
[[File:SegwayPowerStationCubeExtensionBatteryAntiStaticBag.jpg|thumb|center|400px|The bag can be safely tossed.]] | |||
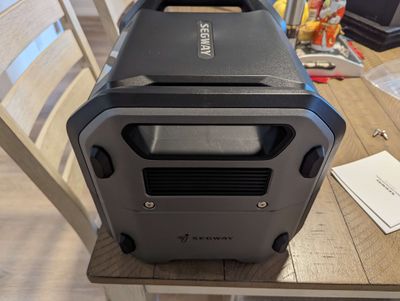
Next, remove the two screws on the front using the included Allen/hex wrench from the main unit that you will be installing the extension battery onto. | |||
[[File:SegwayPowerStationCubeFrontSidePanelScrews.jpg|thumb|center|400px|2 of the 4 screws to remove.]] | |||
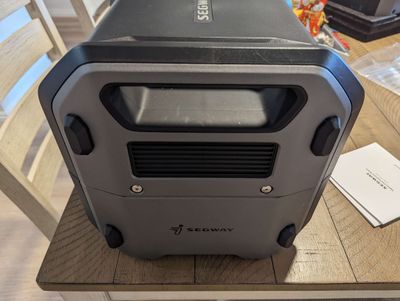
Rotate the unit 180 degrees and remove the other two screws. | |||
[[File:SegwayPowerStationCubebackSidePanelScrews.jpg|thumb|center|400px|2 more of the 4 screws to remove.]] | |||
Next, place the extension battery on top of the base, taking care to align the connectors. | |||
[[Category: Segway]][[Category: Segway Power Station Cube]] | [[Category: Segway]][[Category: Segway Power Station Cube]] | ||
Revision as of 05:09, 25 February 2024
This page details how to install an extension battery on a Segway Power Station Cube/Cube 1000/Cube 2000.
Process
Installation is relatively simple and all needed parts come with the extension battery.

Remove the parts and set them in a safe location, then remove the top cover.
Next, remove the antistatic bag and remove the extension battery.

Next, remove the two screws on the front using the included Allen/hex wrench from the main unit that you will be installing the extension battery onto.

Rotate the unit 180 degrees and remove the other two screws.

Next, place the extension battery on top of the base, taking care to align the connectors.