How To Fix/Replace a Broken Ninebot Max G30 Tail/Brake Light
January 27th, 2021
While transporting my scooters up to college, the taillight on the back of my max broke off.
This makes me a lot harder to see at night as I have no brake light, so I opted to attempt a fix.
This process takes about ~15 minutes from start to finish and requires some specialty bits.
Disassembly
Once my new tail light arrived from China and I procrastinated fixing it for 6 weeks, it was time to disassemble the scooter.
4 Security Torx T20 screws hold the gray plastic plate in place underneath the rear of the vehicle.
4 Torx Security T20 screws hold this in place.
Unscrew them, then carefully remove the plastic cover.
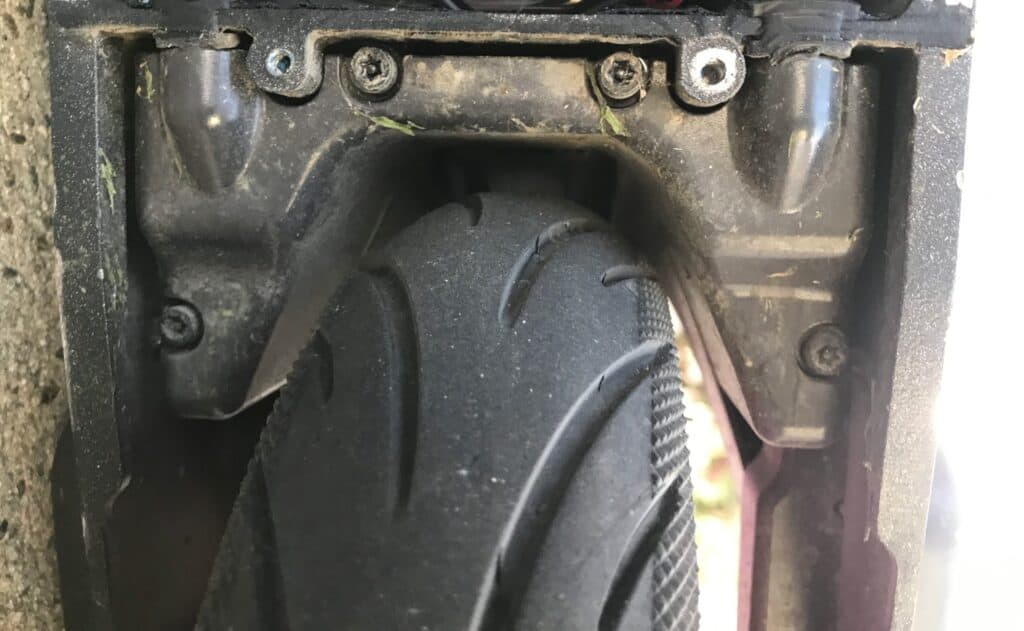
Next, under the rear of the foot mat, 4 M3/3MM Hex/Allen screws hold the fender in place.
Carefully peel up the foot mat, enough to reveal the screws.
4 M3 Hex/Allen screws hold the fender in place.
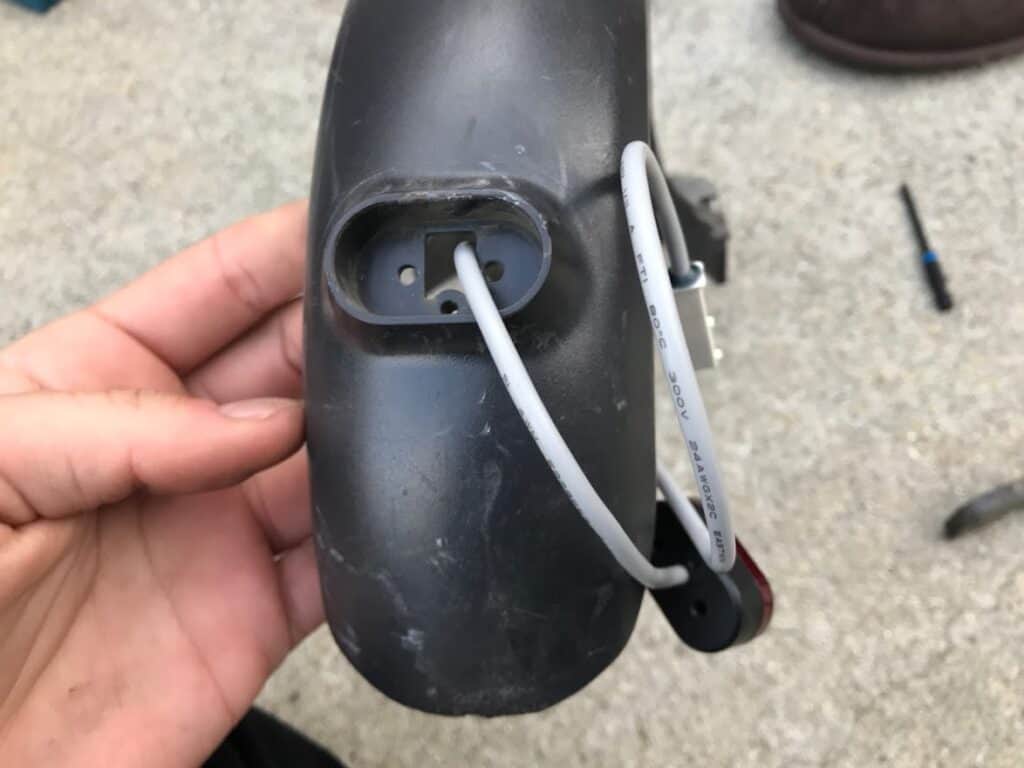
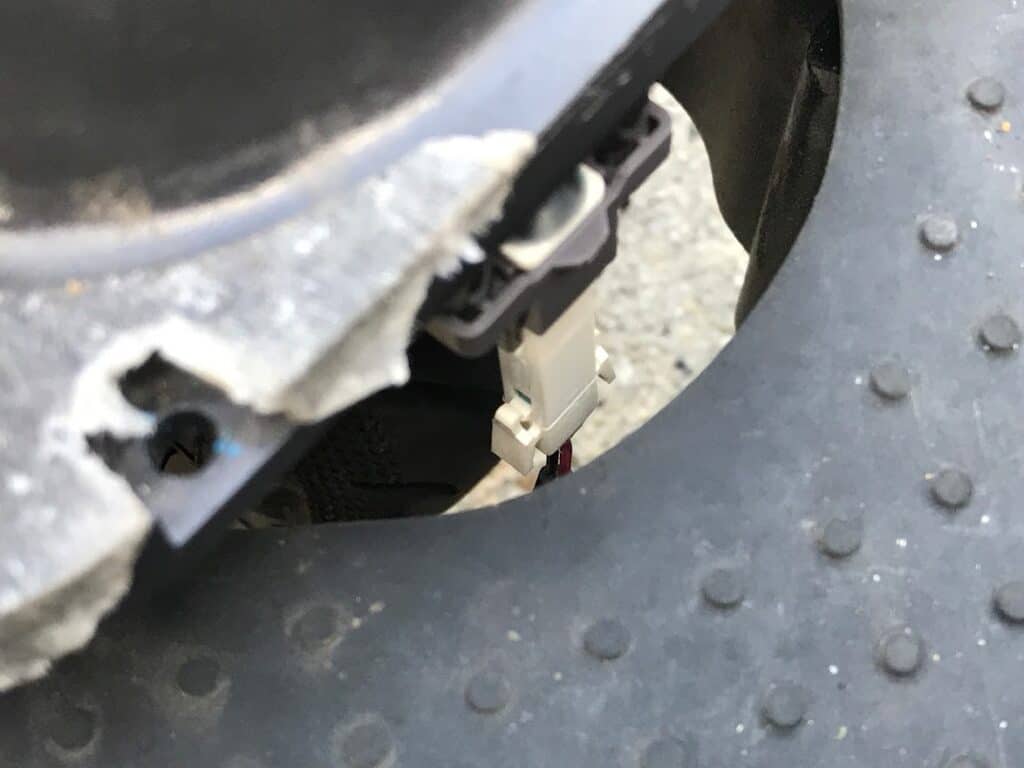
Next, remove the white connector that powers the tail light.
Squeeze the sides of it to remove it from the scooter.
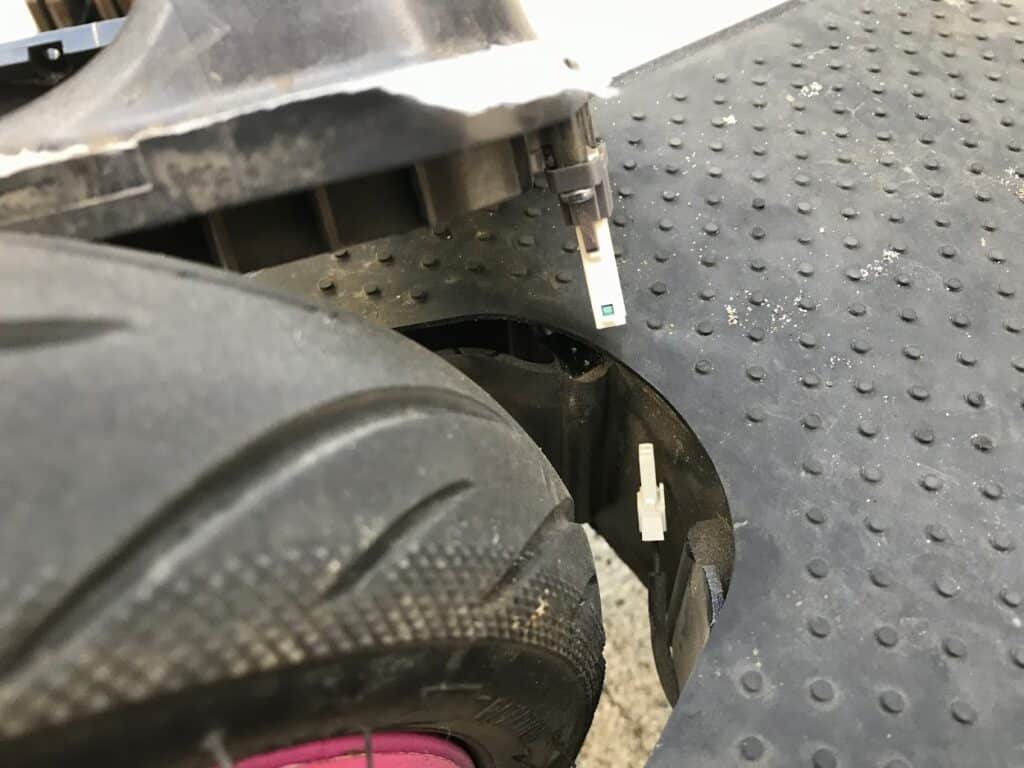
The connector successfully removed.
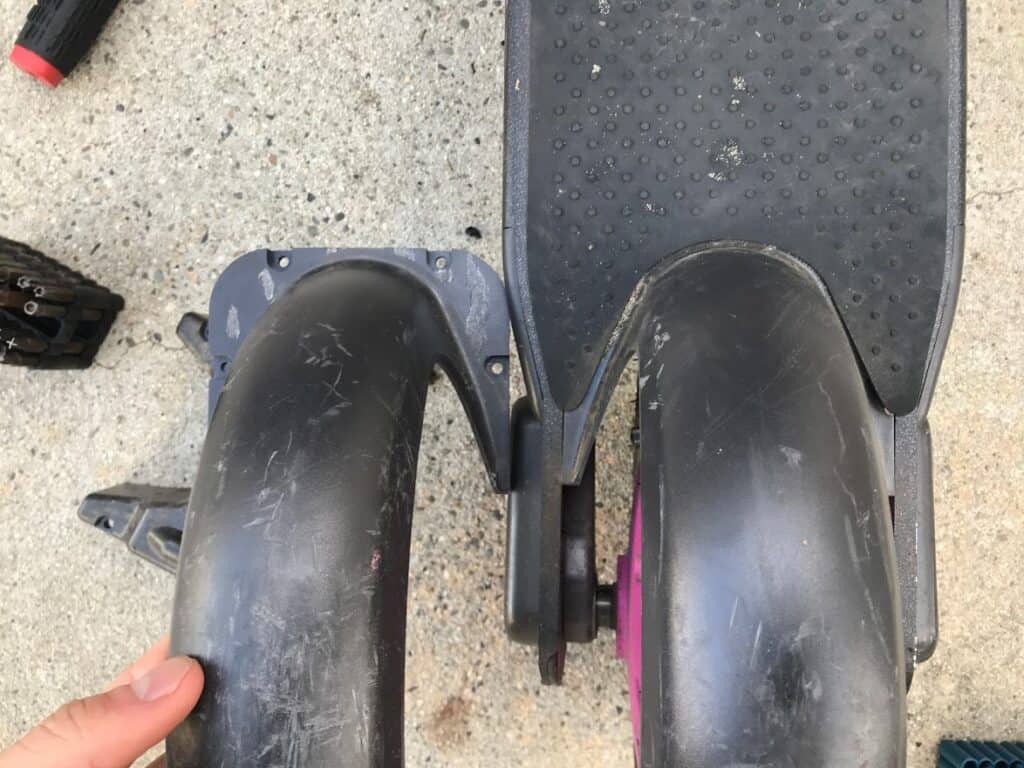
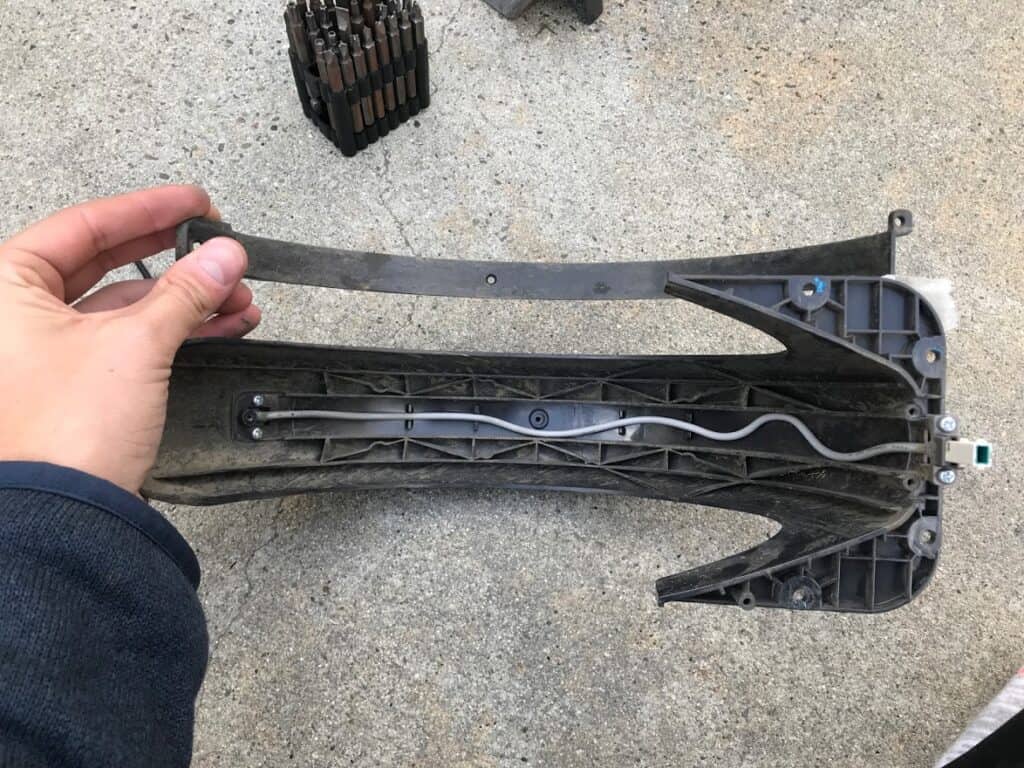
Fender Disassembly
Once you’ve removed the fender, you need to disable it to remove the old tail light.
Two round top Phillips head screws at the top hold the wire cover in place.
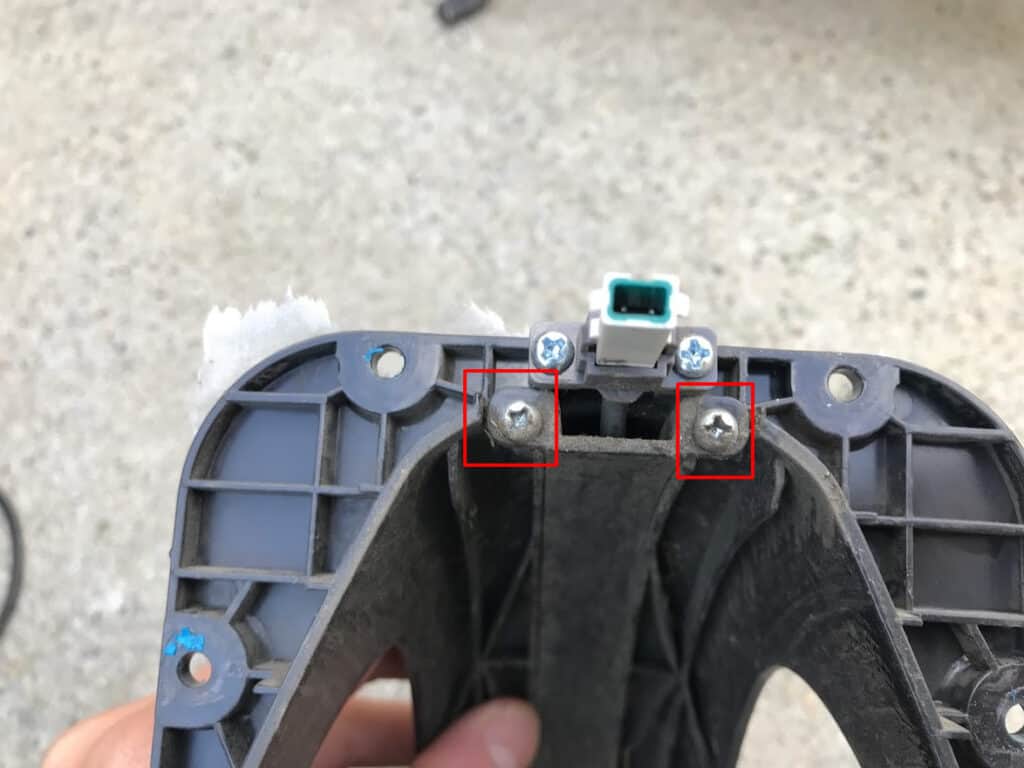
The two screws holding the wire cover in place.
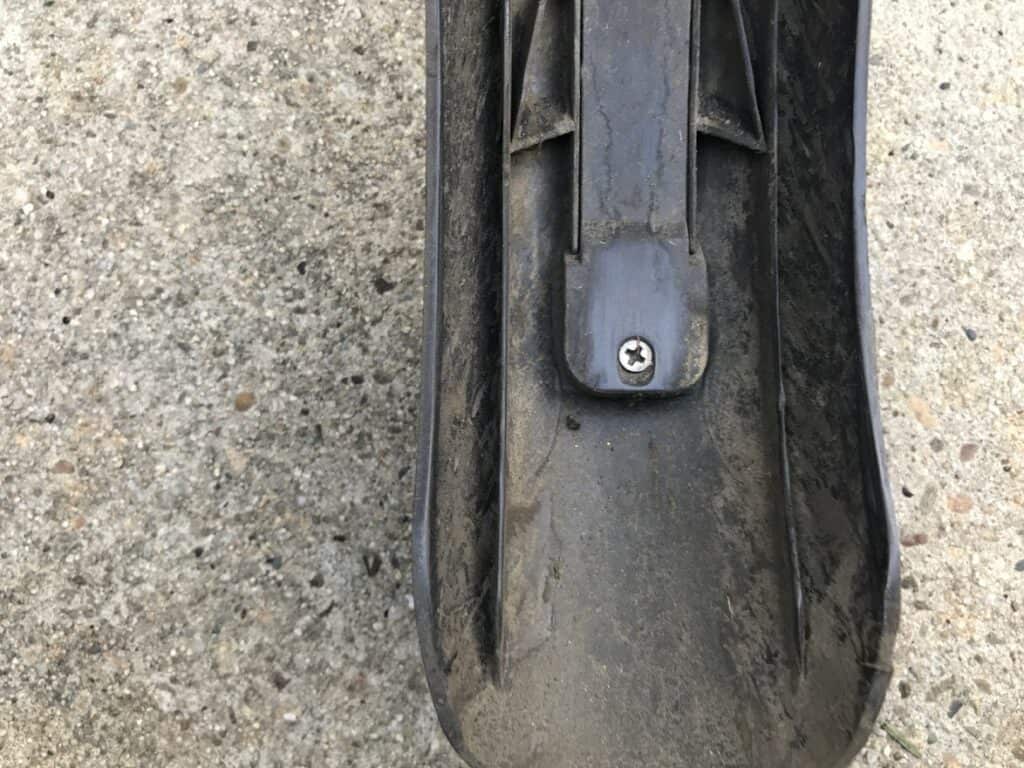
One flat Phillips head screw holds the center down.

The flat screw holding the center down.
Finally, one more flat top Phillips screw holds the tail light in place.
One more flat Phillips screw holds the wire cover in place.
Once all of the screws have been removed, starting from the top near the connector, peel back the wire cover, taking care not to break any of the small plastic clips holding it in place.
The wire cover removed.
Old Taillight Removal
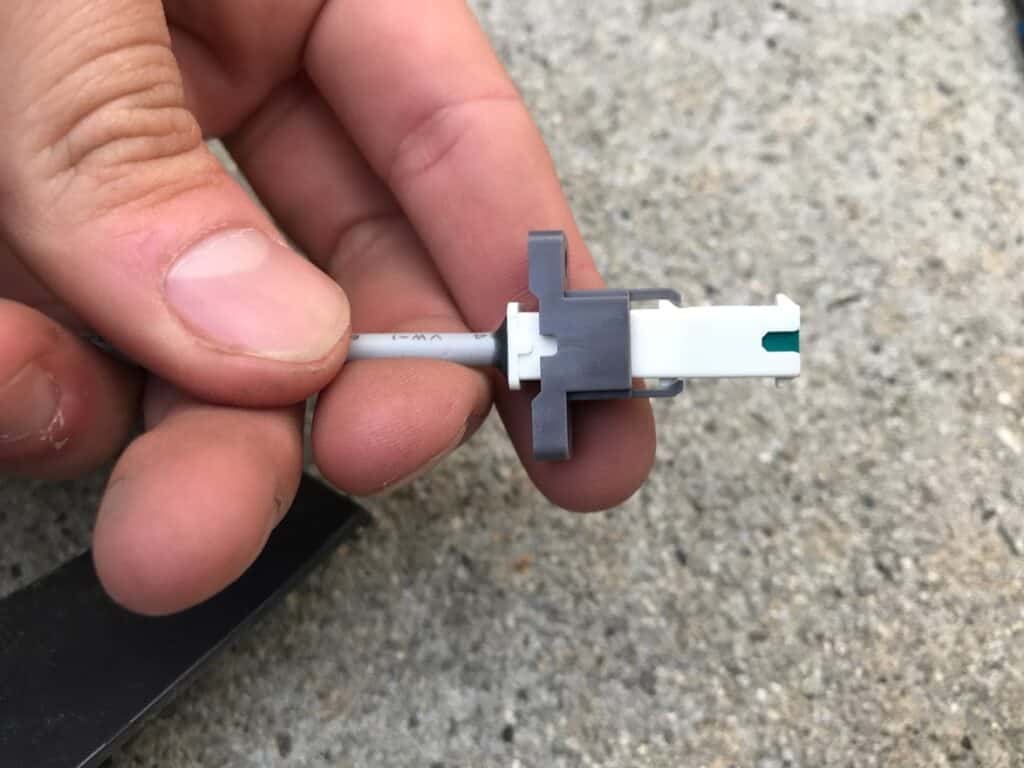
Remove the two round top Phillips screws holding the connector in place.
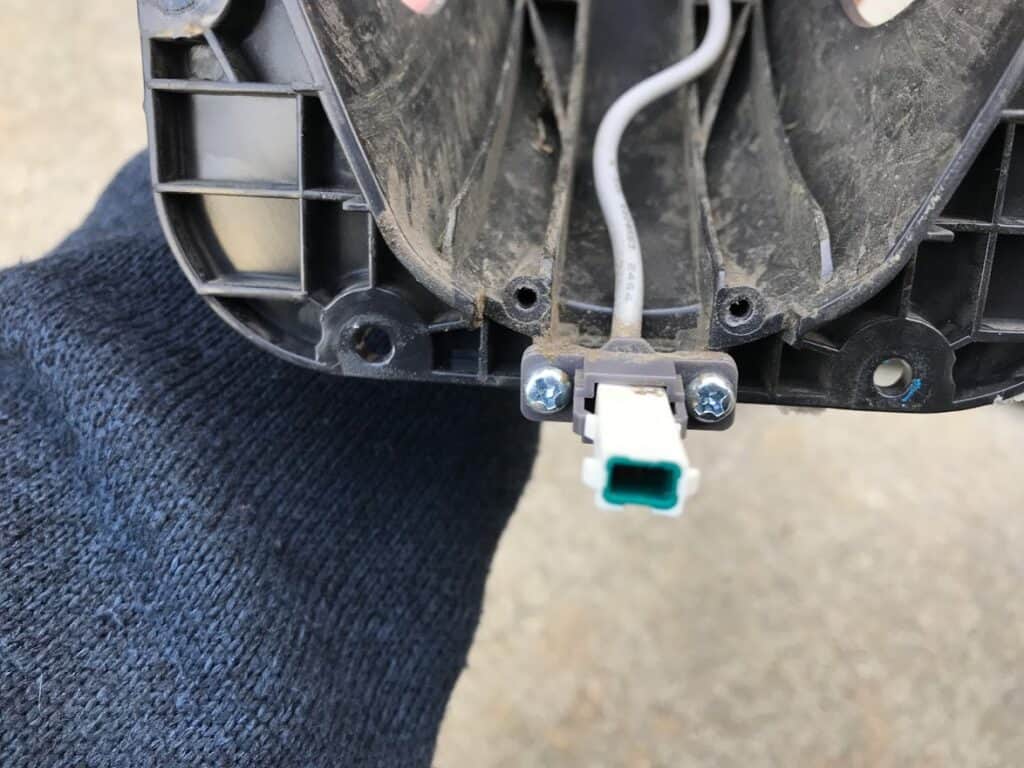
Two screws holding the connector in place.
Finally, two more Phillips screws hold the tail light enclosure in place.
The final two screws holding the enclosure in place.
Once the two screws have been removed, the tail light can be removed by pulling the wire through the enclosure.
New Taillight Installation
Thread the new tail light in through the top.
The new taillight threaded through the fender.
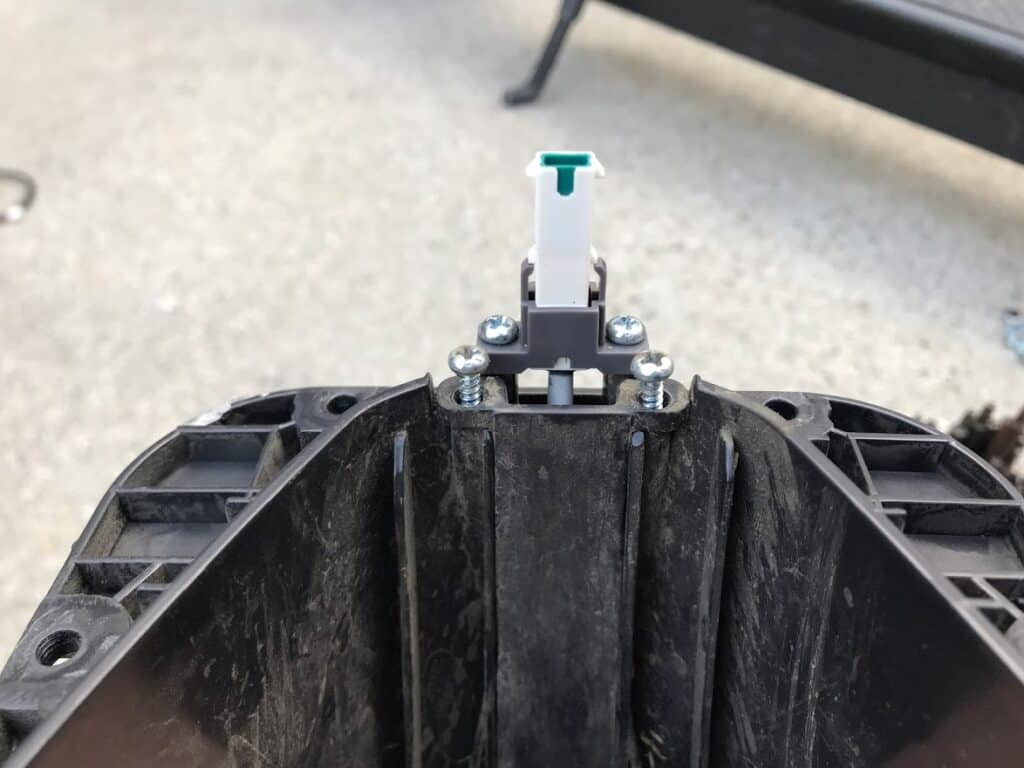
Place the gray plastic piece over the connector and then pull it until it clicks twice and is no longer able to move.
It should be all the way at the back of the connector.
The connector holder firmly seated at the back.
Reassembly
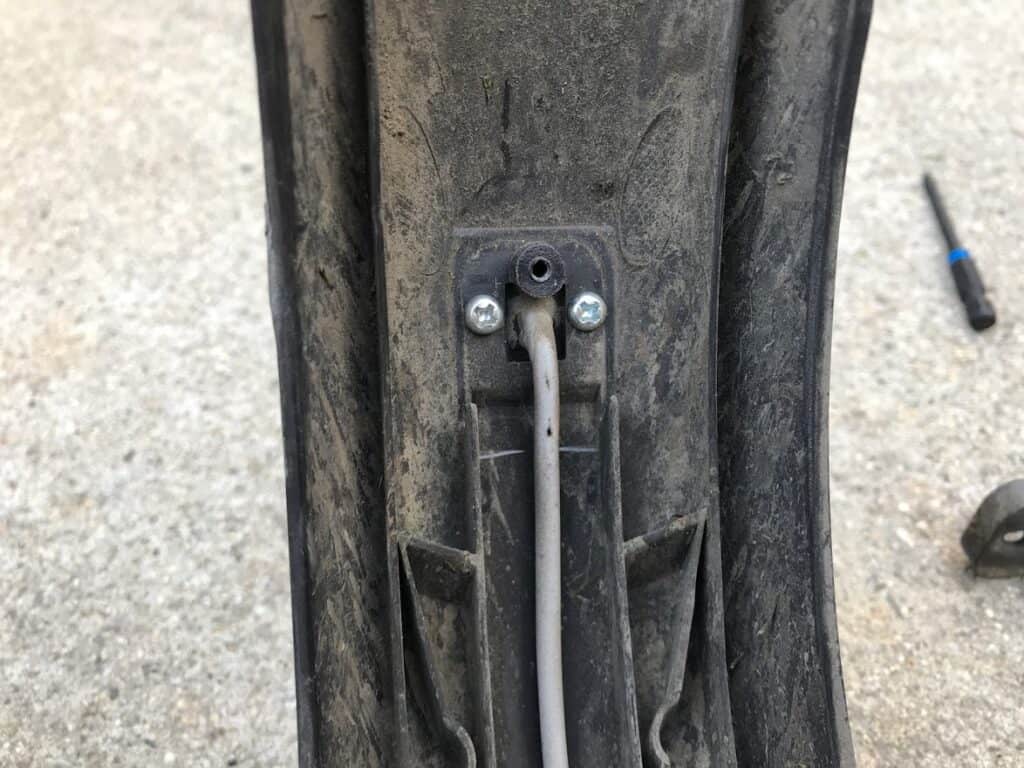
Two Phillips screws are required to secure the connector to the fender.
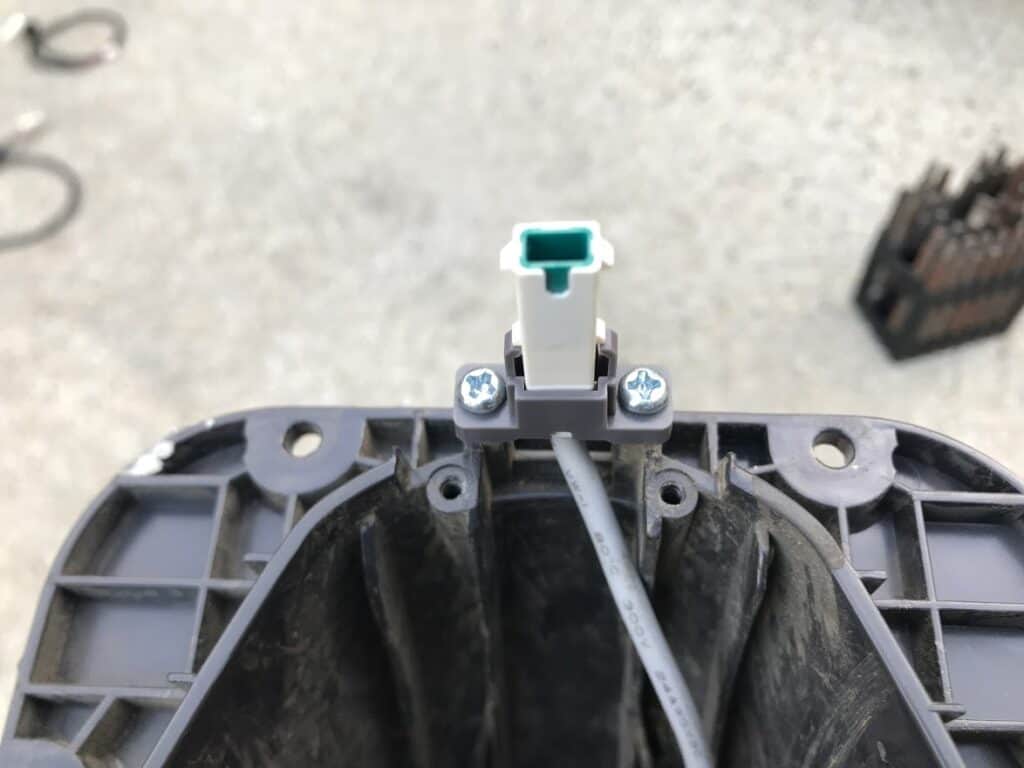
The connector reattached to the fender.
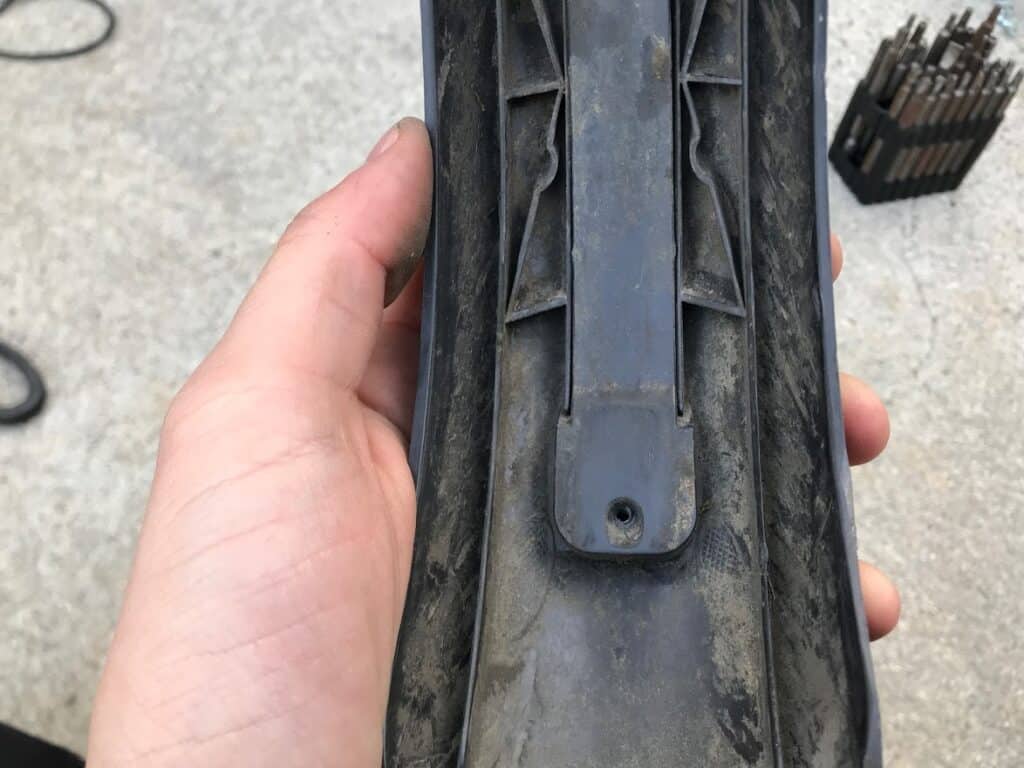
Once the connector has been secured again, thread the wire through the channels and rotate or bend as necessary to get the wire to fit fully inside the two plastic bumpers.
Next, replace the wire cover, starting near the taillight and snapping up towards the connector.
Replace the screw once the wire cover has been placed.
The wire cover in place.
Replace the middle screw, then the two wire-cover screws near the connector.
The connector and wire cover fully reattached.
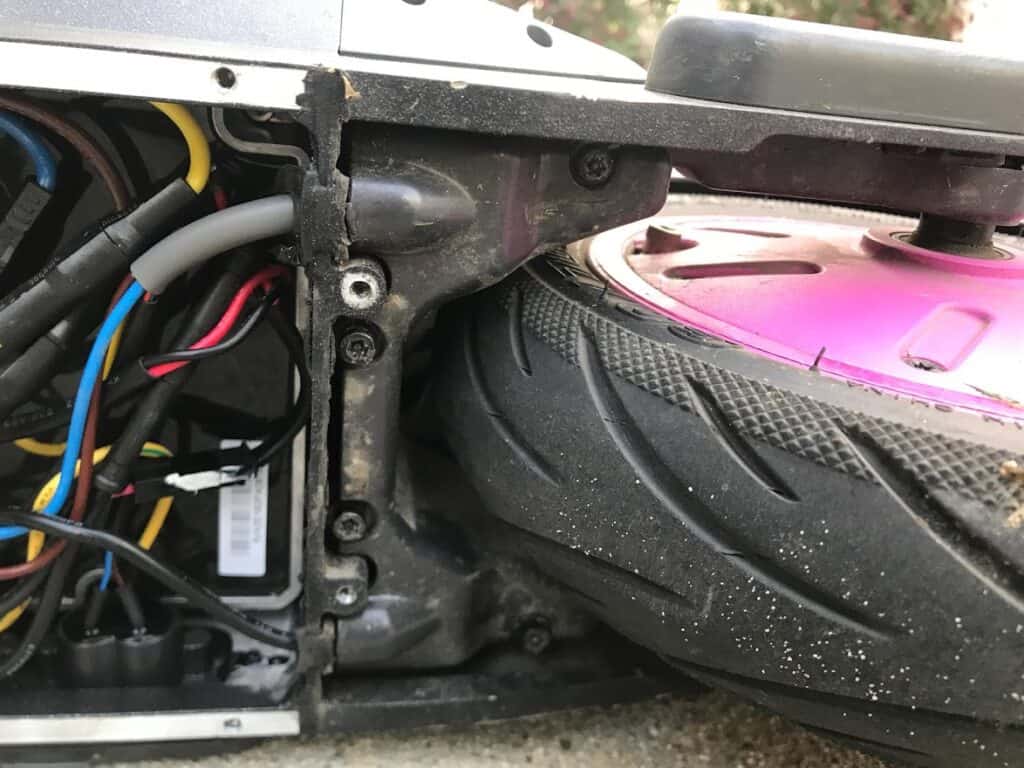
Place the fender back on the scooter and reconnect the connector.
The connector reattached.
Test It!
At this point, it would be wise to power on the scooter and test the tail light. Turn on the headlight or hold the brake to engage the tail light.
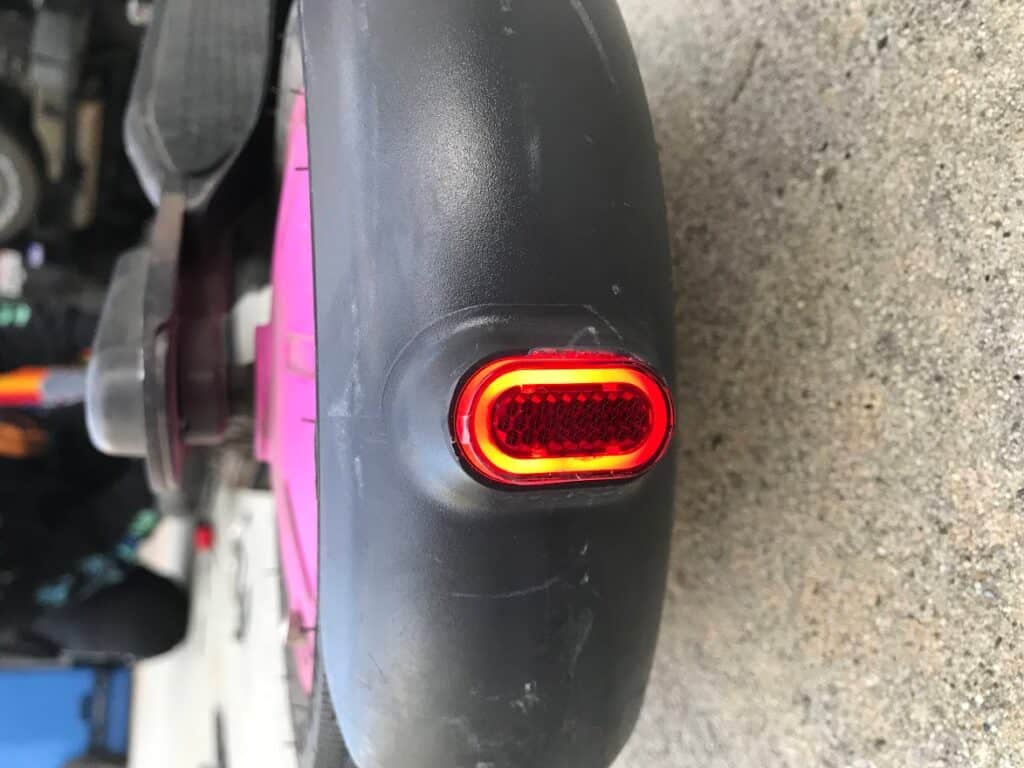
Making sure it still works.
If it works fine, complete the reassembly by replacing the 4 M3/3mm Allen Hex screws.
Then carefully replace the foot mat and push it down to restick it to the deck.
Finally, place the plastic wire cover back on the bottom of the scooter and reinsert the 4 black Security Torx T20 screws in place.
Replace the external wire cover.
- Filed to:
- Electric Scooters,
- Hardware,
- Ninebot,
- Tutorial
Comments
brillant write up and told in laymans terms!! Nice One My Friend.
Thanks, glad it helped!
Thank you for the detailed tutorial and photos.
You’re very welcome, thanks for taking the time to leave a kind comment!
Thank you for this. Looks like I will be following these instructions for my G30